Table of contents
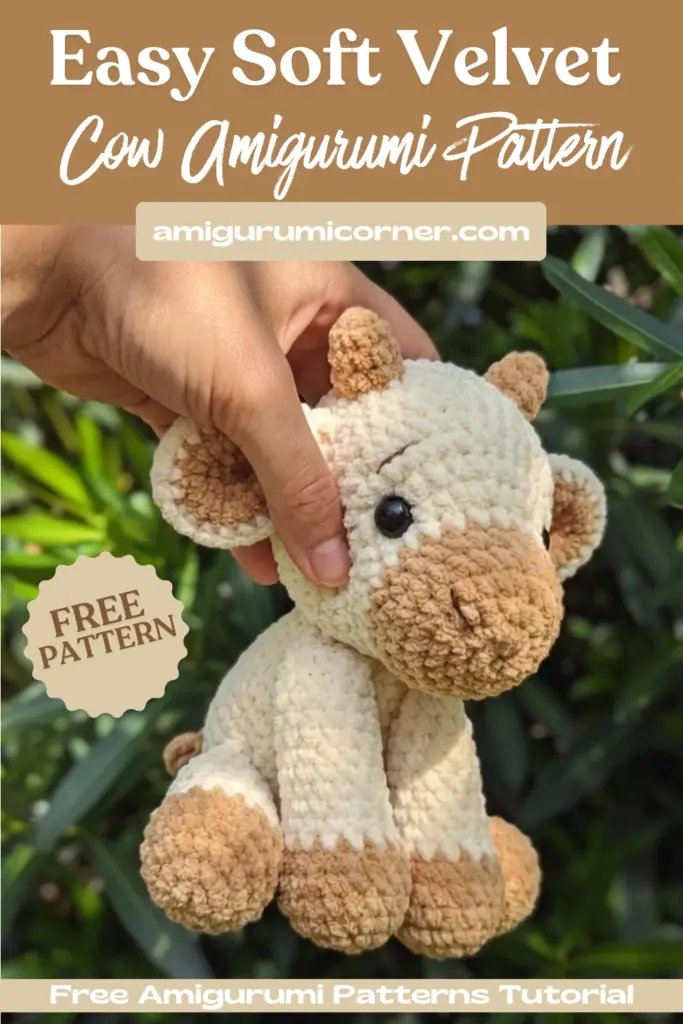
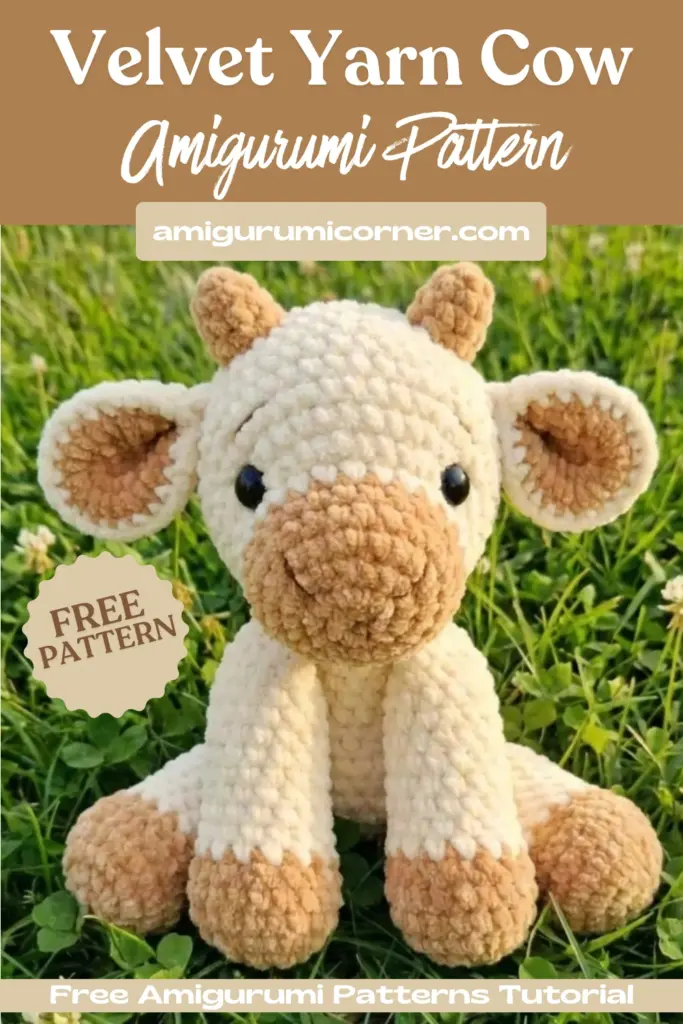
Crocheting with velvet yarn presents unique challenges, but the results are absolutely worth it. This adorable Velvet Yarn Cow Amigurumi combines soft, fuzzy textures with charming details to create an irresistibly cuddly companion. While working with velvet yarn requires patience especially in those first few rounds—this comprehensive pattern will guide you through every step of creating your own Colbie the Cow.
Ready to Start Stitching?
Don’t lose this pattern! Pin it to your favorite crochet board and save it for your next cozy afternoon of making.
Materials You’ll Need
Before you begin, gather these essential supplies:
- Bernat velvet yarn: 1 ball of mushroom brown and 1 ball of white
- Small amounts of black and white cotton yarn (8ply) for facial details
- 3.5mm crochet hook
- 12mm safety eyes (decorative options with eyelashes add extra charm)
- Polyester stuffing
- Yarn needle
- Scissors
- Sewing pins
- Stitch marker

Essential Tips for Working with Velvet Yarn
The fuzzy texture that makes velvet yarn so appealing can also make stitches difficult to see. The first three rows are always the most challenging. Instead of relying solely on sight, feel for your stitches with your hook and count as you work—it’s much harder to count at the end of the row.
Pattern Abbreviations
- ch – chain
- sc – single crochet
- slst – slip stitch
- inc – single crochet increase
- dec – single crochet decrease
- st – stitch
- (#) – number of stitches at the end of the row/round
Head Instructions
Start with white velvet yarn.
- Row 1: 6 sc in a magic ring (6)
- Row 2: inc around (12)
- Row 3: (sc, inc) repeat around (18)
- Row 4: sc, (inc, sc 2) x5, inc, sc (24)
- Row 5: (sc 3, inc) repeat around (30)
- Row 6: sc around (30)
Change to brown yarn in the last sc worked.
- Row 7: sc around (30)
- Row 8: sc 9, (inc, sc) x6, sc 9 (36)
- Row 9-10: sc around (36) (2 rounds)
- Row 11: (sc 5, inc) repeat around (42)
- Row 12: sc around (42)
- Row 13: sc 3, (inc, sc 6) x5, inc, sc 3 (48)
- Row 14-17: sc around (48) (4 rounds)
Insert safety eyes between Row 9 and 10, approximately 13 stitches apart. Start stuffing the head.
- Row 18: sc 3, (dec, sc 6) x5, dec, sc 3 (42)
- Row 19: (sc 5, dec) repeat around (36)
- Row 20: sc 2, (dec, sc 4) x5, dec, sc 2 (30)
- Row 21: (sc 3, dec) repeat around (24)
Continue stuffing the head.
- Row 22: sc, (dec, sc 2) x5, dec, sc (18)
- Row 23: (sc, dec) repeat around (12)
- Row 24: dec around (6)
Fasten off, leaving a tail. Sew through the outside loops of the last 6 stitches and pull tight to close.
Ears (Make Two)
Start with white velvet yarn.
- Row 1: 6 sc in a magic ring (6)
- Row 2: inc around (12)
- Row 3: (sc, inc) repeat around (18)
- Row 4: sc, (inc, sc 2) x5, inc, sc (24)
Finish with a slst, fasten off. Repeat these rows with white yarn once more.
Using brown yarn, work all rows again but do not fasten off. Join a white piece to the brown and sc 24 around through both pieces.
Pinch the top of the ear at the hook, bring working yarn around to the back of your hook. Sc 2, working through both sides. Repeat rows with brown yarn once more and attach the second white piece in the same manner.
Horns (Make Two)
Using white velvet yarn.
- Row 1: sc 5 in a magic ring (5)
- Row 2: sc around (5)
- Row 3: inc around (10)
- Row 4: sc around (10)
Finish with a slst, fasten off leaving a tail for sewing.
Body
Using brown yarn.
- Row 1: 6 sc in a magic ring (6)
- Row 2: inc around (12)
- Row 3: (sc, inc) repeat around (18)
- Row 4: sc, (inc, sc 2) x5, inc, sc (24)
- Row 5: (sc 3, inc) repeat around (30)
- Row 6: sc 2, (inc, sc 4) x5, inc, sc 2 (36)
- Row 7: (sc 5, inc) repeat around (42)
- Row 8-12: sc around (42) (5 rounds)
- Row 13: (sc 5, dec) repeat around (36)
- Row 14-15: sc around (36) (2 rounds)
- Row 16: sc 2, (dec, sc 4) x5, dec, sc 2 (30)
- Row 17-18: sc around (30) (2 rounds)
Start stuffing the body.
- Row 19: (sc 3, dec) repeat around (24)
- Row 20-21: sc around (24) (2 rounds)
- Row 22: sc, (dec, sc 2) x5, dec, sc (18)
- Row 23: sc around (18)
Finish with a slst. Fasten off, leaving a tail for sewing. Finish stuffing the body.
Front Legs (Make Two)
Using white velvet yarn.
- Row 1: 6 sc in a magic ring (6)
- Row 2: inc around (12)
- Row 3: (sc, inc) repeat around (18)
- Row 4: sc, (inc, sc 2) x5, inc, sc (24)
- Row 5-8: sc around (24) (4 rounds)
Change color to brown in the last sc worked.
- Row 9: sc 6, dec x6, sc 6 (18)
- Row 10-17: sc around (18) (8 rounds)
Stuff the leg. Do not add stuffing to the following rows.
- Row 18: (sc, dec) repeat around (12)
- Row 19-20: sc around (12) (2 rounds)
- Row 21: dec around (6)
Fasten off, leaving a tail. Close the last 6 stitches and pull the tail through to the back of the leg.
Using a 10cm long piece of white cotton yarn and needle, sew from the back of the leg to the front between Rows 8 and 9. Thread needle down between Rows 3 and 4, back out to where you started. Secure with a double knot and hide ends inside the leg.
Hind Legs (Make Two)
Using white velvet yarn, follow instructions for Front Legs but do not work Rows 16 and 17.
Fasten off, leaving a tail. Close the last 6 stitches and pull the tail through the inside of the leg. Follow the same front leg instructions for the white cotton yarn detail.
Tail
Using white velvet yarn.
- Row 1: sc 6 in a magic ring (6)
- Row 2: sc around (6)
- Row 3: inc around (12)
- Row 4-7: sc around (12) (4 rounds)
- Row 8: (sc, dec) x4 (8)
Change color to brown in the last st worked.
- Row 9-18: sc around (8) (10 rounds)
Finish with a slst. Fasten off, leaving a tail for sewing.

Assembly
Use pins to hold parts in place as you sew.
Creating the Face Shape
Using brown yarn, insert needle at the top of the right eye and out through the same position of the left eye. Insert needle one row down on the inside of the left eye, pull yarn through to the same position of the right eye. Insert needle back up where you started with the right eye and out the left again. Pull both tails tight until you have the desired face shape. Secure tails with a double knot and hide ends inside the head.
Nose Detail
Using black yarn, insert needle between rows 3 and 4. Bring your needle straight up to between rows 4 and 5. Repeat for the other side.
Attaching the Parts
- Sew the ears to the sides of the head over rows 14 and 15
- Attach the head to the body
- Attach the front legs to the front of the body at row 20
- Attach the hind legs to the side of the body at row 9
- Pin and sew the tail over rows 5 to 7 of the body, centered to the hind legs
- Sew the horns over rows 15 to 17 of the head, approximately 7 stitches apart
Final Thoughts
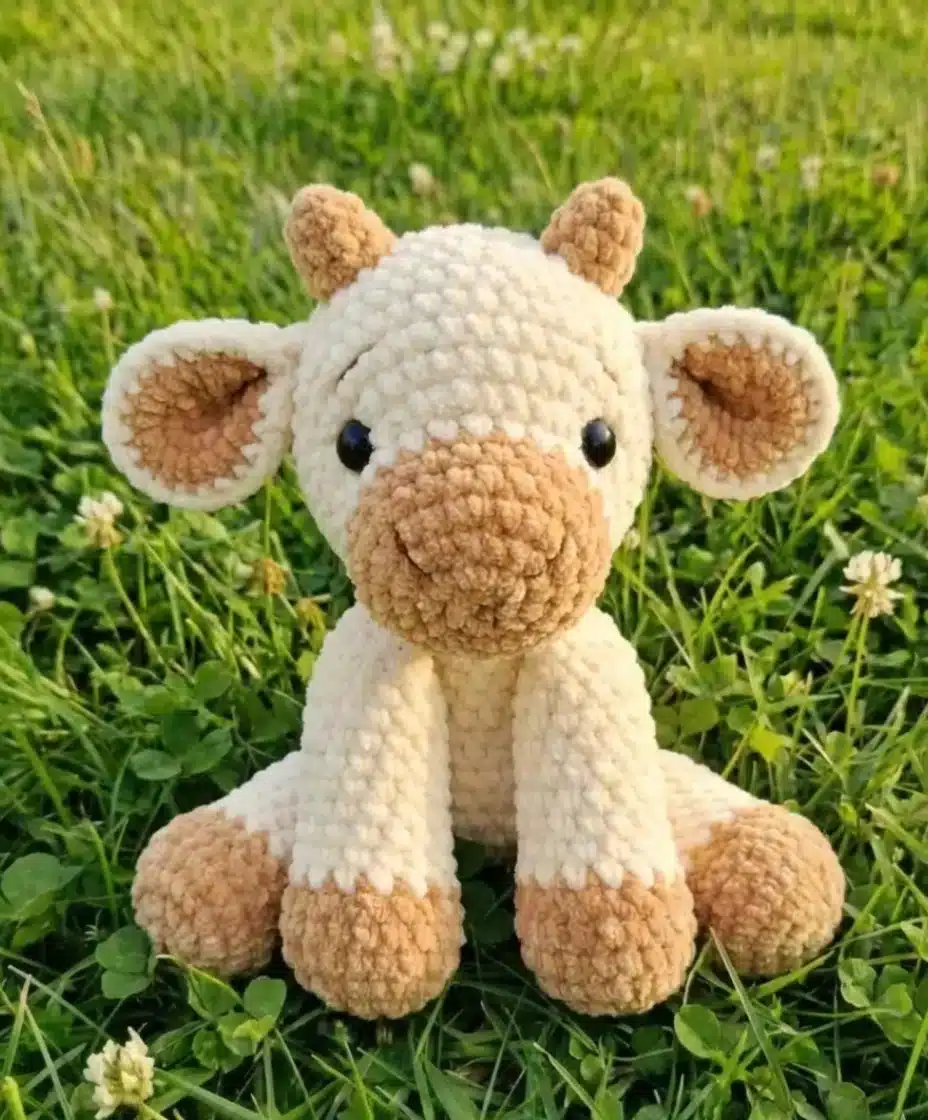
Working with velvet yarn requires patience, but the end result is a beautifully soft and cuddly cow that’s perfect as a gift or addition to your amigurumi collection. Take your time with those first few rounds, count your stitches carefully, and trust your sense of touch. The luxurious texture and adorable design make Colbie the Cow a truly special project that’s worth every careful stitch.
Ready to Start Stitching?
Don’t lose this pattern! Pin it to your favorite crochet board and save it for your next cozy afternoon of making.